Appearance
Getting Started — Login, Signup and the App Shell
This guide covers everything that surrounds the actual feature pages: how to log in, how to claim an invite, and how to find your way around the persistent header, navigation and footer that frame every view in Coldwave.
If you're new to Coldwave, read this first. If you're looking for a specific feature, jump to its dedicated guide:
- Dashboard — widget overview boards.
- Fleet — Device List and Fleet — Device Details — devices and per-device tabs.
- Alarms — alarm list and incident details.
- Analytics — visual time-series exploration (Overview, Working with Data, Sharing & Persistence).
- Reports — tabular analytics and queries (Building Queries, Results & Export).
- Node Editor — visual processing pipelines.
- Schema Editor — property definitions and translations.
- User Management — Users, Roles, Groups.
Contents
- Login
- Two-factor authentication
- Signup
- The header
- Tabs and views
- Side navigation
- User menu
- Footer
- Language and theme
- Session expiry and reconnect
- URLs and tabs
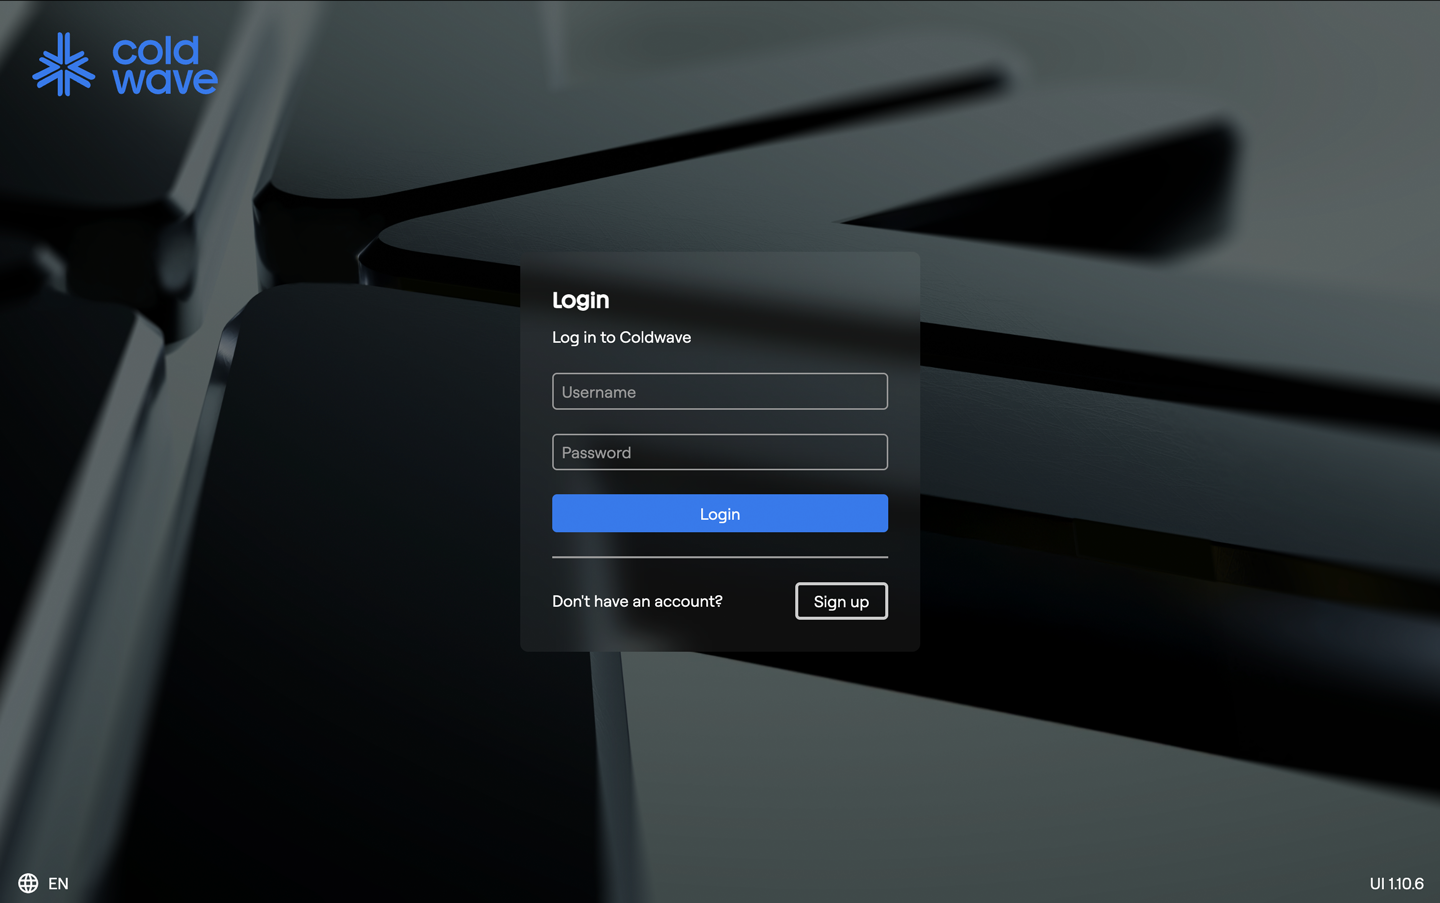
1. Login
Open /login (or just the site root) and enter:
- Username or email.
- Password.
On success you're redirected to either your home dashboard or the URL you originally tried to open (if you arrived via a deep link that required authentication).
Common error states:
- Invalid credentials — username or password is wrong.
- Rate-limited — too many failed attempts; wait a minute and try again.
- Server unreachable — the backend isn't responding. Try refreshing.
2. Two-factor authentication
If your account has 2FA enabled, after entering your password you're prompted for a 6-digit code from your authenticator app.
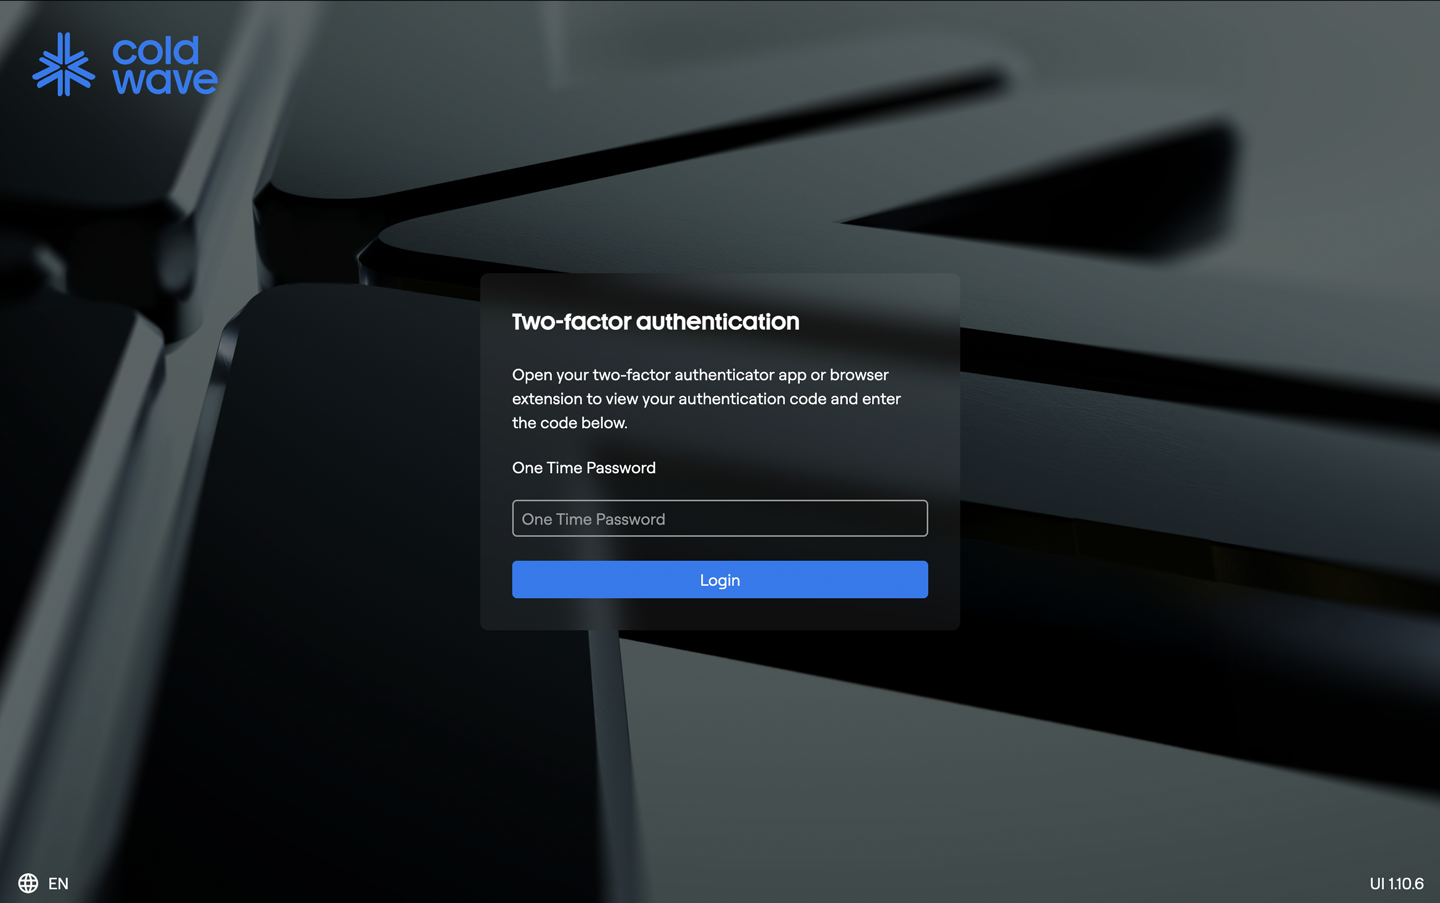
The field auto-focuses and auto-submits as soon as you've typed six digits — you don't need to click anything. A wrong code shows an error and lets you try again.
You can enable, disable or reset 2FA later from the user menu.
3. Signup
Coldwave does not allow open self-signup. New users join via invite.
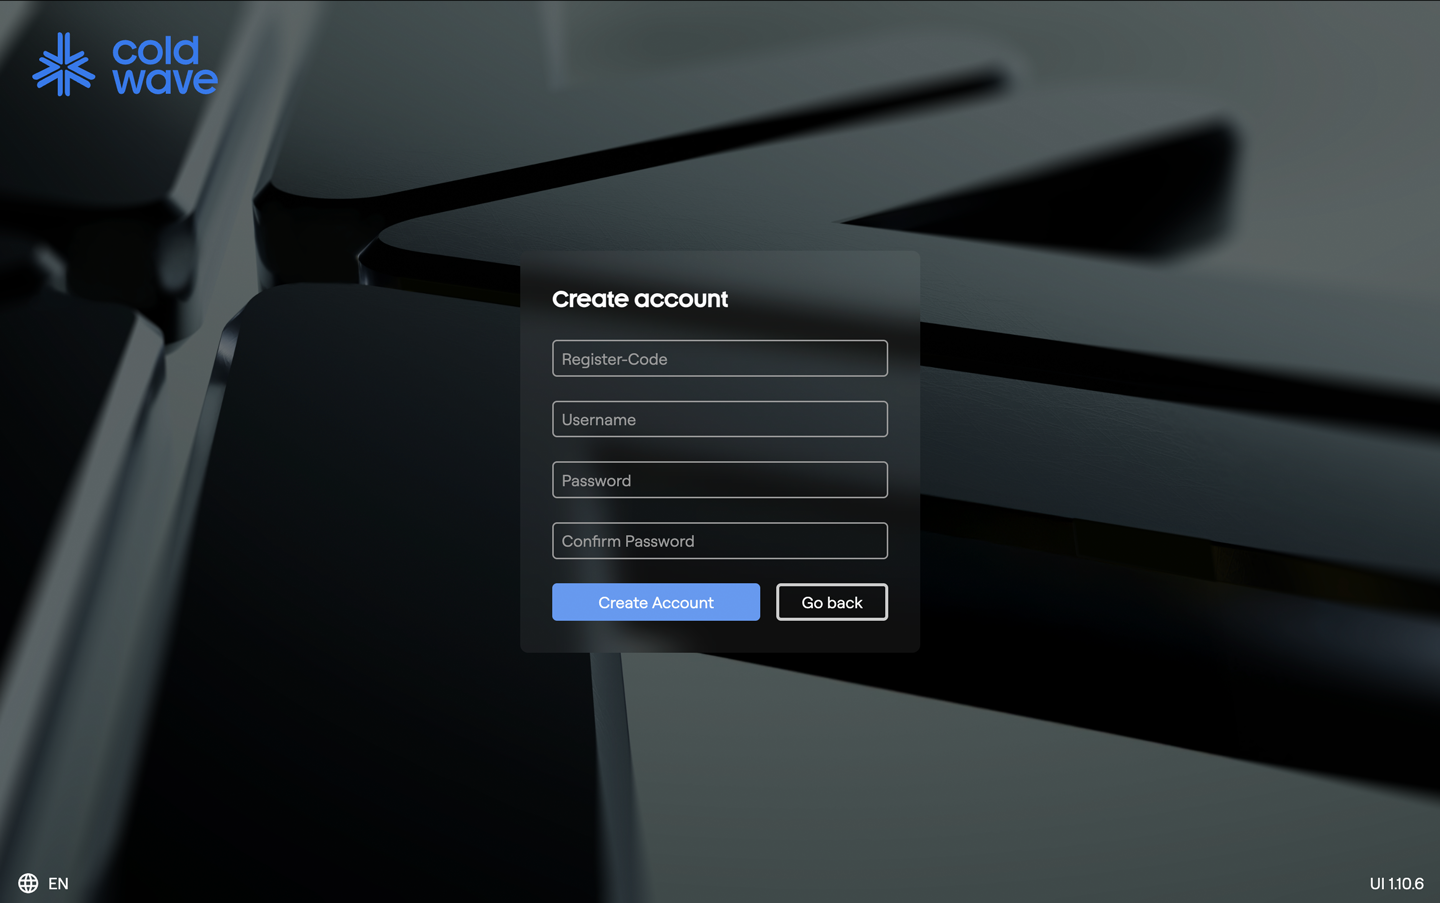
The invite consists of a registration code your administrator gives you out-of-band (email, chat, paper). At /signup you provide:
- Username.
- Registration code (the invite code).
- Password — must meet the policy below.
- Confirm password — must match.
Password policy
Coldwave enforces the policy live as you type:
- At least 8 characters.
- At least one lowercase letter.
- At least one uppercase letter.
- At least one digit.
- At least one special character (
! @ # $ % ^ & * _ -).
Visual badges next to the password field tick off each rule as it's met. The Sign up button only enables when all rules are satisfied and the confirm-password field matches.
After successful signup you can log in immediately.
4. The header
The header runs across the top of every authenticated page.

From left to right:
- Logo — clicks return you to your home dashboard.
- Tab strip — the views you currently have open. See §5.
- User menu — your account-related actions. See §7.
- Language and theme — quick toggles. See §9.
The header is hidden on the login and signup pages.
5. Tabs and views
Coldwave keeps multiple views open as tabs in the header. Switching between Fleet, Alarms, Data, Dashboards and so on is one click — the previously open tab keeps its state (selected device, current time range, scroll position) thanks to keep-alive caching.
- Click a tab to switch to it.
- Close a tab with the × on the tab. If the tab has unsaved work (e.g. an open editor with pending changes), Coldwave asks for confirmation first.
- Overflow menu — if you have more tabs than fit, the rightmost ones collapse into a dropdown.
Your open tabs are saved per user and restored on next login, so your workspace looks the same as you left it.
6. Side navigation
The collapsible side bar on the left is the main launcher for opening new views.
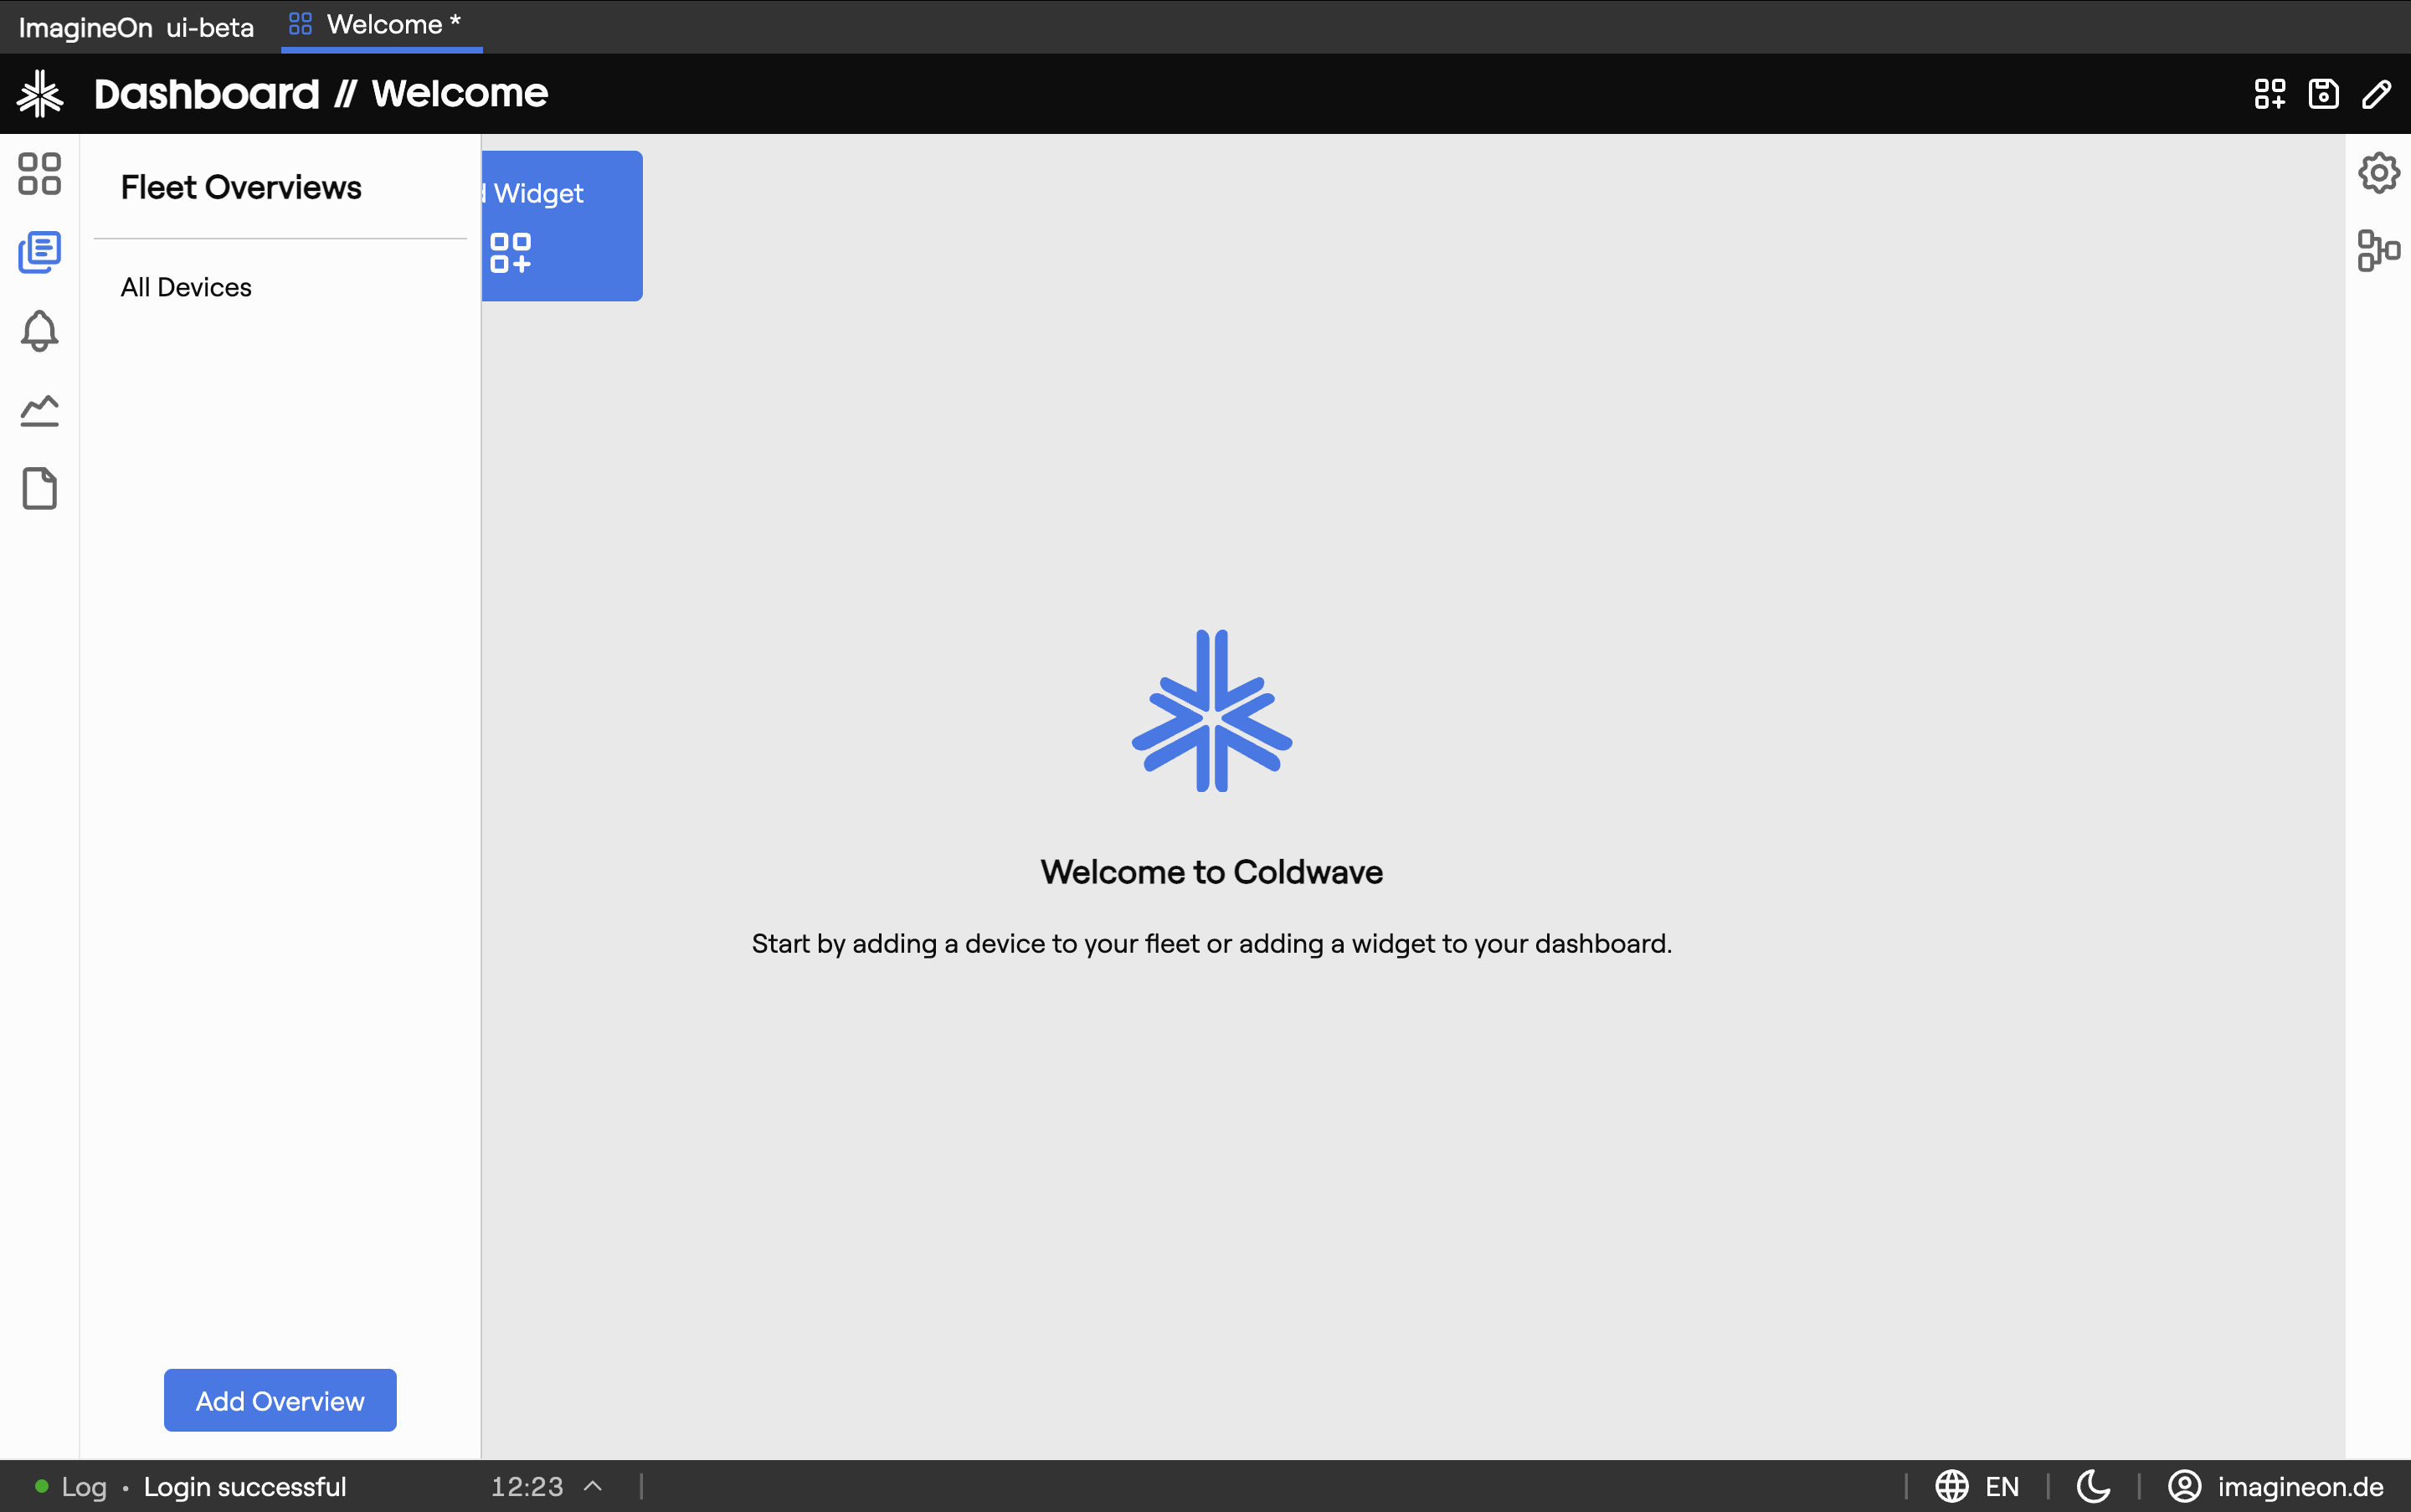
- Click a section icon (Fleet, Alarm, Data, Dashboard, Settings, …) to open a slide-in submenu with the available sub-pages.
- Collapse / expand the bar with the chevron at the bottom. The collapsed bar shows icons only.
- Hovering over an icon shows the section name as a tooltip.
There's also a right-hand context bar on some pages that can be toggled open for additional context (device details, statistics) — see the per-view guides for details.
7. User menu
Click your avatar / username in the header to open the user menu.
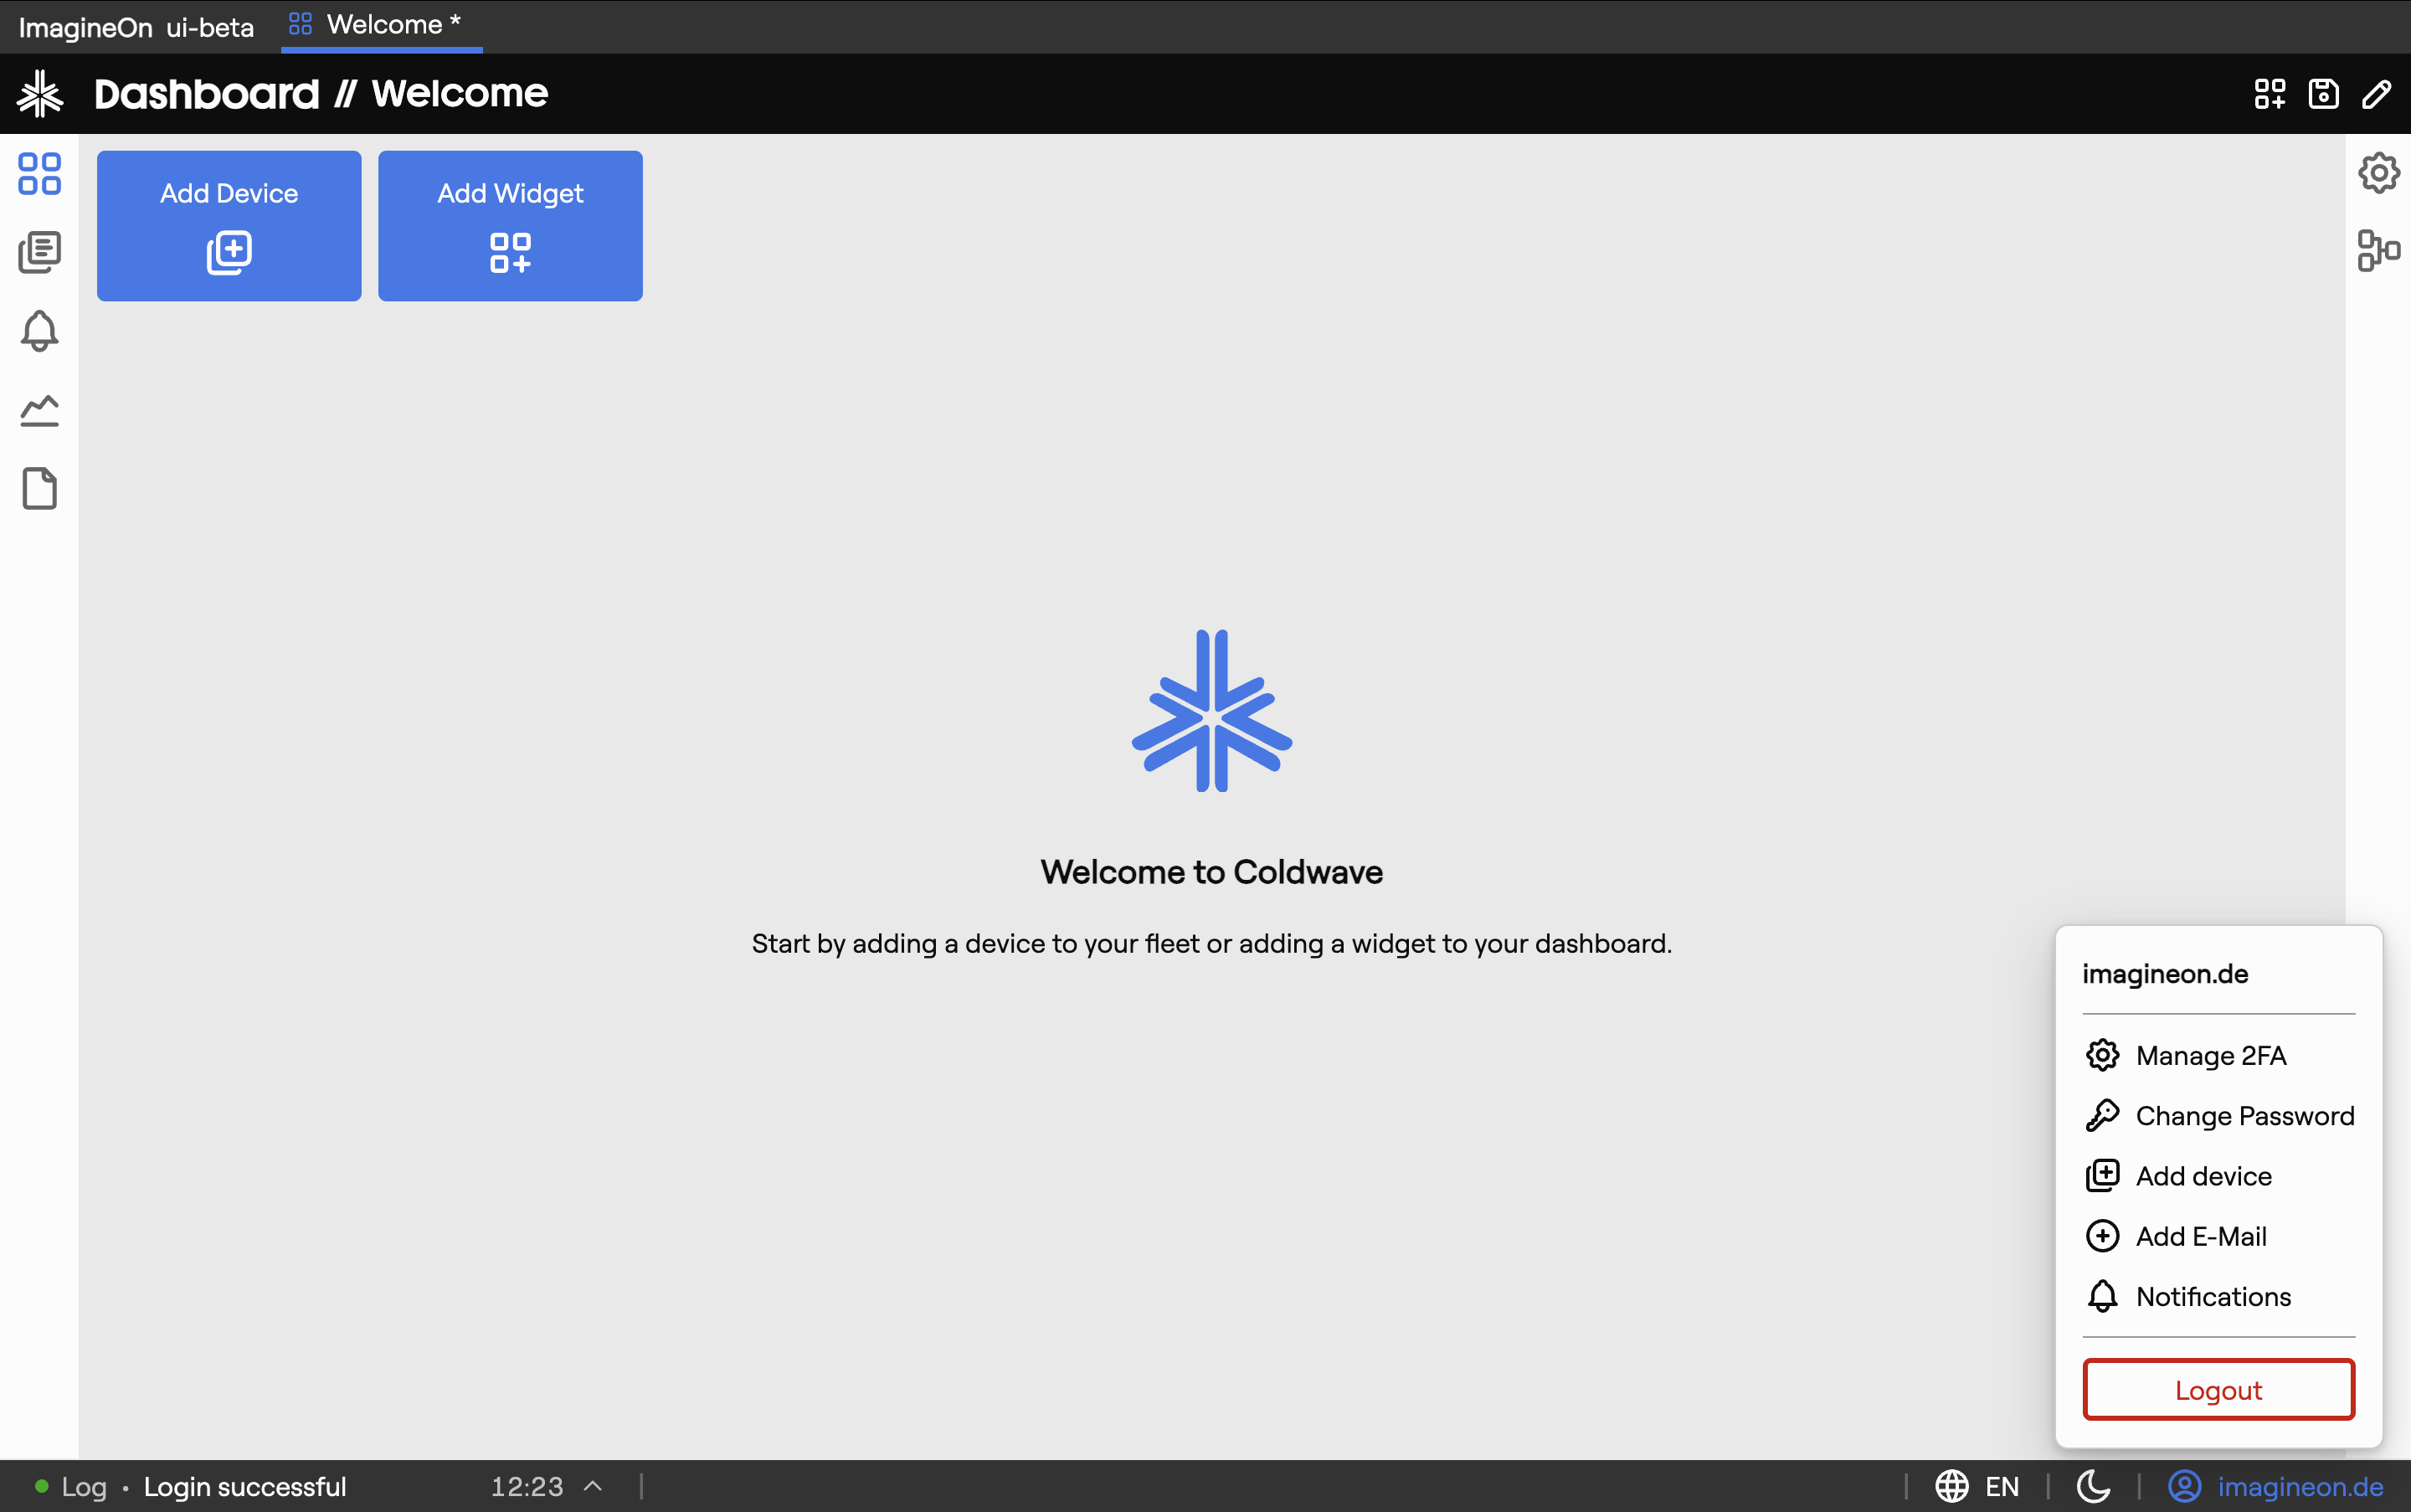
Typical entries:
| Entry | What it does |
|---|---|
| Two-factor setup | Enable, disable or re-pair 2FA. |
| Change password | Set a new password (the same policy as signup applies). |
| Claim device | Pair a new device to your account using its claim code. |
| Add email | Register or change the email address on file. |
| Notifications | Configure how Coldwave reaches you about alarms and system events. |
| Logout | End the session. You'll be returned to /login. |
8. Footer
The footer at the bottom of every page is a small status / utility strip.

- Loader — shows a spinner while data is being fetched. Useful for spotting slow responses.
- Info hover — hover for a quick status panel (connection, version).
- Language selector — change UI language; takes effect immediately. See §9.
- Theme button — toggle light / dark mode.
- User shortcut — quick access to the user menu.
9. Language and theme
Language
Coldwave detects your browser language on first login and uses it as the default. You can change the language at any time from either the header language switcher or the footer language selector. The choice is saved per user.
Theme
Toggle between light and dark mode from the footer theme button. The choice is saved per user.
10. Session expiry and reconnect
Coldwave keeps a live WebSocket to the backend for streaming data. If the connection drops temporarily, Coldwave reconnects automatically and you'll usually see only a brief pause in the loader indicator.
If the session expires or can't be recovered, a Session expired modal appears with a Refresh button. Clicking it returns you to the login page; any unsaved work in editors is lost.
To avoid surprises, keep an eye on the footer loader — a stuck spinner is the most common early sign of a dropped connection.
11. URLs and tabs
Coldwave is built around tabs. The address bar reflects whichever tab is currently active and where inside that tab you are — selecting a device, opening a chart, changing a time range all keep the URL in sync.
This has two practical consequences worth understanding before you start sharing URLs:
Inside your own session
The URL is stable and useful. Bookmarking, browser back / forward, and re-opening the browser later all bring you back to where you left off — the URL plus your persisted tabs reconstruct the same view.
When sharing a URL with a colleague
The URL alone is not enough to reproduce the view for someone else. On every login Coldwave restores each user's last-open tabs from their saved workspace, and that restoration runs after the URL is loaded. If your colleague's restored tabs cover a different view, theirs will win and the URL you sent is overridden.
So treat URLs this way:
- URLs generated by Coldwave itself — clicking Show Graph on an alarm property, clicking View in Alarm View on a fleet device, the current query link in Reports — work reliably for you because they extend the tab you're already in.
- URLs hand-constructed from the patterns documented in the per-view Deep links sections — useful for understanding what Coldwave produces, and as input to internal scripts or saved bookmarks. They are not a reliable way to deep-link a teammate into a specific view; the safer option is a screenshot plus a written instruction ("open the Fleet tab, select device X, switch to Telemetry").
The Deep links section in each per-view guide lists the URL patterns Coldwave generates. Use them with that caveat in mind.